Hubcaps - Removing
Removing a Beetle hubcap is easy provided you have the right tool! The first time I tried totake off one of the hubcaps, it was clear this was not going to be easy if I wanted to avoid scraping
the painted wheels and damaging/warping the metal cap.

After
scraping the the paintwork a number of times on all of the wheels trying to
work out how to remove
the hubcaps, I decided to type in 'Beetle Hubcaps' in the search box on Ebay
UK and up popped the key
'Remover Tool' I had been looking for.
perfect sense as we go on to how the tool works in practice.
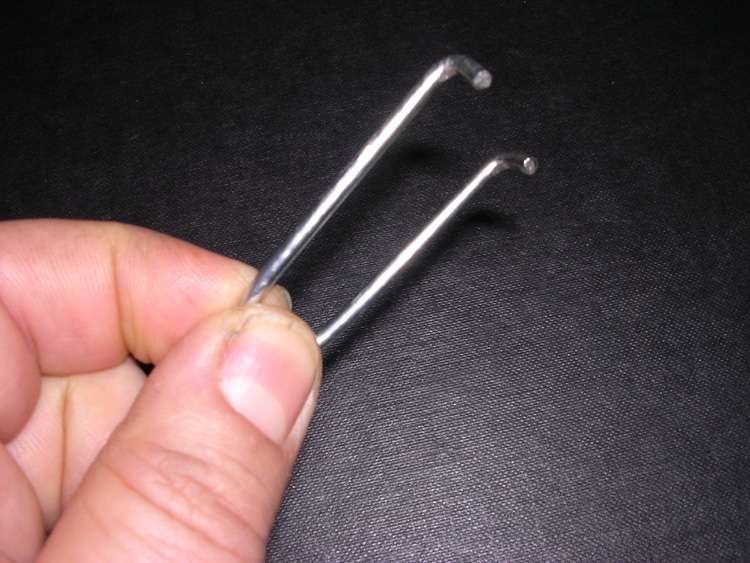
Here
is how the hubcap remover tool works; You find the two tiny holes that are
located along the
rim of the hubcap and then attach the tool to them. Now
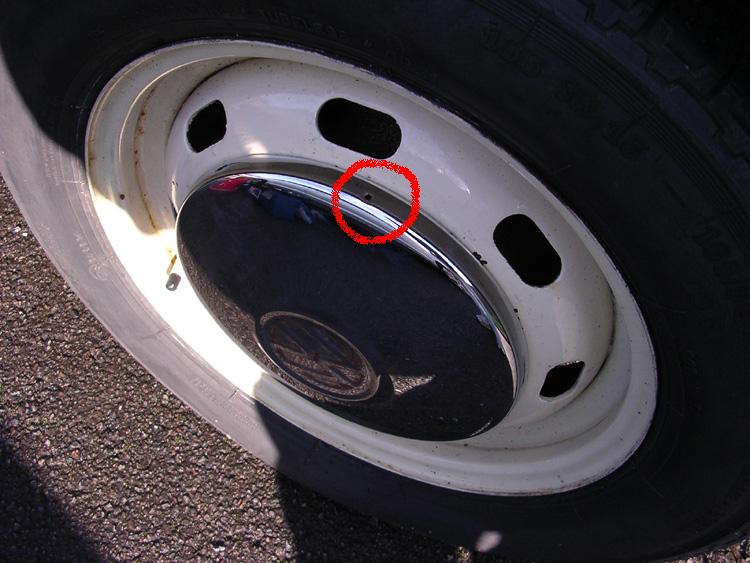
as you can see from the image above, there
was only one hole in each cap!
This is one of those occasions, I'm sure where the German/Brazilian quality
stock raises its nasty head.
I'm all for saving a few pounds but in this case, where ever the hubcaps originally
came from, they were
either faulty stock or produced by a company who clearly did not spend enough
on researching their
products for the replacement Classic VW parts market.
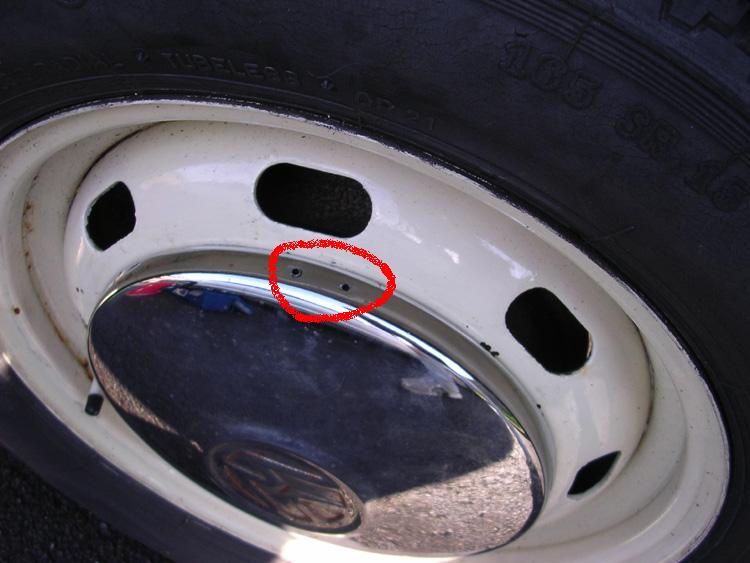
Who had driven 3 Classic Beetles many years ago (but has no mechanical skills) suggested drilling an extra hole in
to the hubcap. As you can see, thats what I did and it worked very well.
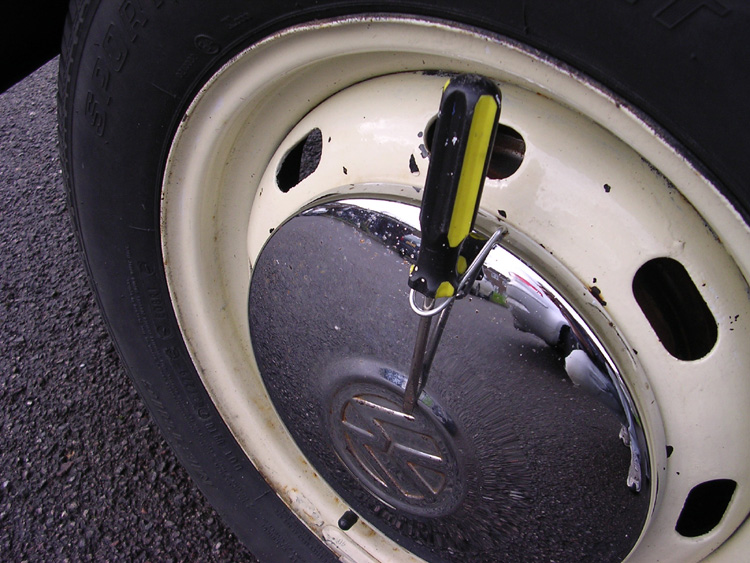

Finally,
I just lifted my hand under the metal end of the screwdriver and the plastic
end against the wheel rim and then
just pulled. The hubcap lifted off nice and smoothly!
_______________________________________________________________________